Like water on shale: reviewing Laurel

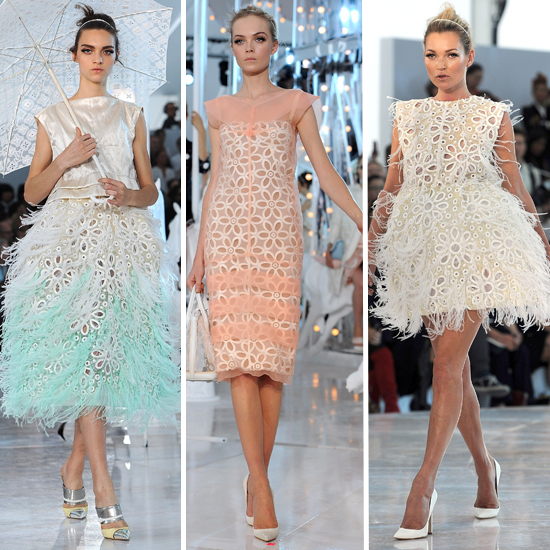
Although I sewed a proper muslin to test the fit of the Colette Laurel, I decided to further test fit and construction by sewing and entering another version in the competition. I’d had this stripy silky fabric in my stash for a number of years. I’d fallen in love with the muted colours (like the colour of shale or slate when wet) but had no idea what to do with it. The lines are not regular enough to create optical illusions with clever cutting and I didn’t want to break them up anyway. When Laurel came out with only bust darts to break up the pattern I decided now was its moment in the sun and it seemed the obvious choice for my second entry.

Dabbling in cloning

Dabbling in cloning

Pattern Used: Colette Patterns Laurel (released March 2013)

Size and Version: Size 14 & Versions 1/2/3 (it’s hard to say which because I didn’t use many of their features, just the basic dress)

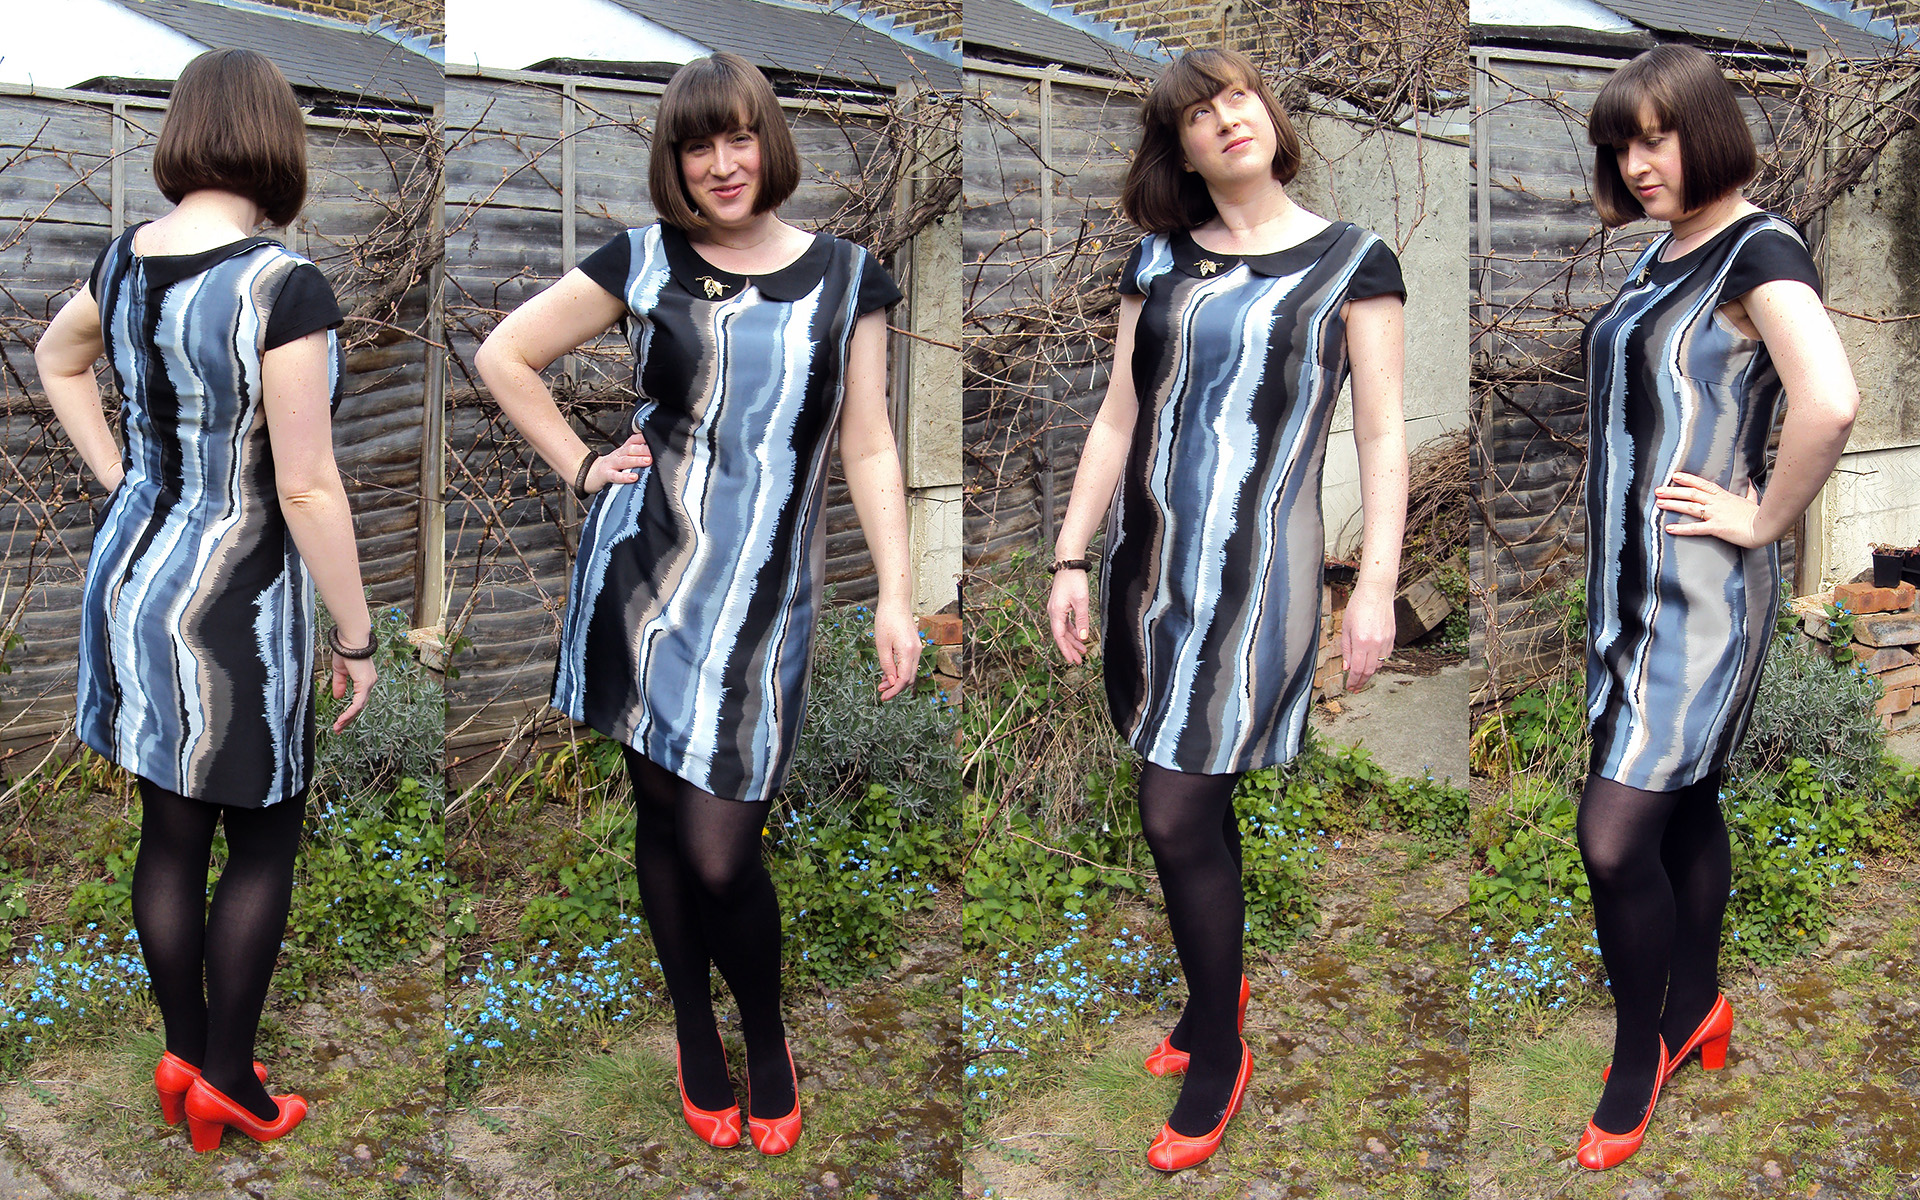
Modifications: I decided against the drafted sleeves as I feared they’d elide with the main dress causing one big mass o’ fabric. The last dress I sewed had nice little cap sleeves so I decided to recreate them and pair them with a peter-pan collar in solid colour (black nubby silk) to bring out the pattern. For the cap sleeves, I used the included sleeve pattern, but just cut it off in a straight line under the front and back notches. (I did make sure this worked by sewing a draft on to my muslin.) I drafted the collar myself.

Fit from pattern: Size 14 fitted well across the bust, but was too large everywhere else. I also found the bust dart points were too high, so I lowered them (and they still look high in the photos). I took out about 4 inches around the waist and hip circumference; 0.5 at each back waist dart, and 0.75 at the side seams front and back, graduating from nothing just below the bust. This seemed to make the muslin fit, but after finishing the final garment I decided it was still too large/sacky, and took out another 3 inches by sewing down each side seam, again from below the bust.

Construction: Because the fabric is thin and I didn’t want it clinging to everything, I underlined AND lined this dress. I used muslin (in the British English sense of the word), this has given it a nice spongy feel. The lining is of unknown fibre, but is a Pierre Balmain remnant, apparently lost in a West German warehouse for the last 30 years! I have never caught my man-outside-Sainsbury’s telling porkie-pies, so I’m generally convinced that this is true.

I basted the underlining to the fashion fabric round all edges and then treated as one. Because I was lining the dress I didn’t follow the pattern instructions, but used, instead, what is rapidly becoming my favourite construction method. Sewing the lining and fashion fabric right sides together at the neck and armholes, then pulling the back pieces right-way-out through the shoulders. The zip is then inserted and the side seams finished last. Because I’d sewn the sleeves and collars identically, with the solid fabric sewn to the lining fabric along the outside edges, I treated them the same when attaching the lining to the dress fashion fabric. That is, I just sandwiched them between the lining and fashion fabric so that when I turned the dress the right way out, the were in place and caught in the seams (if that makes any sense at all!).

Feelings on the final dress: I wasn’t sure if I would like this dress. Because of my shape I try and steer clear of anything that falls straight from the bust. The fabric I used is silky, and so I just about avoid the sack look (IMO), but I did take the sides in quite considerably just before hemming, to give it a better fit; possibly too much as there is a little pulling across the back. That said, I like it and I will wear it. Probably to up-market day-dos, like a conference or networking.

Lessons learnt & future focus:

  1. I need to do Full Bust Adjustments from now on. I have to face the fact that choosing the size based on my bust measurement and scaling down the waist and hips doth not a good fit make elsewhere
  2. D’oh, when drafting the collar (which wraps round from CF to CB), I drafted a piece for the front and a piece for the back, sewing them together at the shoulder. Because I had a top collar, under collar with fusible interfacing, fashion fabric, underlining and lining all seamed at the shoulder, this gave me a seam with 12 (six fabrics x tw0 for the folded over allowance, you follow?) layers of fabric to sew through. I could’ve just eliminated shoulder seam on the collar…
  3. Silky fabrics, silky fabrics, must learn to cut silky fabrics on grain (although please note that the stripes on this fabric are not on grain anyway, so they squiff off to the right on purpose), and to sew them well (sewing this really was like walking on wet shale)
  4. Zips, in silky fabrics; mine is bubbly, not good
  5. Hemming, argh, I’m always too impatient and for some reason I can never cut a straight one. I really need to make sure I spend the time perfecting this. I had hoped with the addition of the underlining that you wouldn’t be able to see the hem, but you can and it’s bubbly

Make again?: I’m going to have to say… No. I like this dress and I love my other one, but I sewed these two dresses for the competition. I thought it would be interesting to see if I could make something I would normally avoid, look good on me. I’ve concluded that I prefer shaping at the waist.

Notes on the Pattern: Although I used an alternative method to the instructions, I did read through them before starting to get a basic idea of the pattern, and they are very well written and easy to understand. I like the hand-holding explanations of common sewing terms. I think they can up a new seamstress’s game quite quickly (I mean, who ever learnt about stay-stiching from a Burda Magazine pattern?).

Advertisement

Plan A

Final selection (a couple more might have sneaked in...)

Final selection (a couple more might have sneaked in…)

When pulling fabric from my stash there were a fair few that I’d bought with a purpose in mind (rather than grabbing them in a frenzy of colour, like a magpie, which is my other modus operandi), therefore in my choice of palette, I already had the bones of a plan. As mentioned in a previous post, one reason I picked this colour-way was to use the turquoise/orange/brown African wax-print I bought last summer. This was at the height of a micro ‘ethnic’ trend and I wanted to make a pencil skirt, but life was getting in the way and last year’s summer wasn’t exactly tropical…

As it stands, here is it is:

Bottoms:

1) Colette Clovers in indigo stretch cord; I made a muslin for these back in October last year, then got hung up on the fit and never progressed

2) A simple self-drafted skirt in the turquoise linen and,

3) one in the African wax fabric.

Tops:

1&2) I’ve been obsessed with a number of versions of Vogue V1247 that have been knocking around other blogs, mainly this one (the first I saw).

But I’m not sure if it will suit me (the tent effect), we will see; regardless, I’m planning two of these tops, a wearable muslin with a blue silk  and the ‘real’ one out of the patterned chiffon/gauze;

3) A peplum top with the turquoise linen;

4) One shirt from the pattern magic books with brown cotton;

5) A top, as yet un-designed from the white furry lace fabric;

6) One from the African wax fabric;

7) AND, if I’ve the will after all of these, one from a small piece of brown double gauze (likely to be something like a Colette Sorbetto).

First up, the Clovers and a blue silk V1247.

Uber-Eyelet Design ‘process’: how the eyelets were born

The page in my ‘design journal’ where I brainstormed Laurel dress designs shows that the eyelet design was really the only one I contemplated seriously out of all the other ideas I came up with.

Laurel design ideas

Laurel design ideas (not sure what ‘bias bingling’ is…)

Yep, there it is, all big and with loads of detail at the bottom of the page there. What other dress designs…?

For about a week though, I wasn’t sure whether it was feasible. I’d already decided that silk organza would be just the thing for the eyelet laden over-dress, but my ideas for actually creating an eyelet were hazy at best. Looking at my source photos the edge of the eyelets are not embroidered as a broderie anglaise would be, and, quite frankly, I’d ruled a zig-zag edging out of my plans. Have you seen how much organza frays? To avoid a hairy-edged mess, I’d need to pack those zigs in. And I’d already experienced zig-zagging at 0.1mm length stitches on my machine when trying to sew neat button holes; hours later…

So I went to work on the only idea I’d had so far which was to use bias binding round the edges. I pulled out some scraps of organza, some white ‘cotton’ and got to work on a test sample.

And that there test sample almost made me give up for good.

After a drink (possibly alcoholic) I mused over my mistaken physics. Bias binding would never lie flat, because the circumference  of the outer circle edge would be the same as that of the inner, but a ‘facing’ would. That was when I remembered some wool jersey.

The advantage of the wool jersey is that it doesn’t fray, therefore I didn’t have to finish the edges, and I could cut quite close in to the stitching on both the inner and outer edges of the eyelets. On both edges I turned the stitch length down to its lowest setting (1). When cutting out the central hole I got in as close as I felt comfortable, cutting round the shape, and then cut very small nicks into the point of the eyelet and around the curves. I then pulled the facing through and steamed the life out of it to give me a good flat edge. In the picture of the back you can see the that the organza isn’t quite pulling round to the edge, and I need to get better at a cleaner point, but this was just the first one! I originally hand stitched the outer edge, turning it under slightly, but it didn’t look very neat, and was time consuming, so I tried machine stitching and decided it looked better. (Which is why you can see that strange line in the photo above, that was my original pressing crease when the edge was turned under.)

Now I knew it could be done all that remained was to brace myself for rather a lot of sewing.

A sucker for a challenge

I really enjoyed the Colette Patterns competition. There was a purpose, a deadline and restrictions. Getting creative within those restrictions got my design muscle twitching; planning, testing and finally realising my chosen design was satisfying beyond other sewing experiences.

The start of Me Made May (which I’m not taking part in), got me musing about mix and match, wearable, me-made items. That train of thought, coupled with my sewing competition awakening, morphed seamlessly into to the idea that I could further push myself in design, sewing and wearability by imposing a mini wardrobe challenge on myself. After that, it was seconds till I was pulling fabric from my stash with the aim of gathering together a palette from which I would formulate my designs (which was unfortunate because I was supposed to be cooking dinner…).

Whilst rummaging I came up with The Rules Which Can Not Be Broken:

  • Fabric must come from stash and should include some thrifted items for refashion (notion purchase is allowed)
  • Capsule wardrobe must be separates (too many dresses)
  • Each separate item must go with at least two other items being made and one of three existing wardrobe items

The rules serve as design restrictions, but some wider aims will serve as more of a design brief. They are:

  • Have a mix and match wardrobe I actually want to wear and tie the wardrobe in with current wardrobe items
  • Focus on excellent construction
  • Enact some plans I had last year/make up some long-intended patterns
  • Stretch my sewing and drafting skills with some advanced techniques (and finally complete my personal sloper), and with an eye on THE dress, incorporate skills I would need to enact my currently envisioned design
  • Develop some design concept skills, rather than flit from one make to the next

There were several contenders for my stash palette, but mainly because I wanted to wear the African wax print I bought last summer, I picked the peacock colour-way (or, the turquoise pile).

(Sorry about the quality of the photos. I’m on a steep blogging learning curve and hopefully I’ll get better in time. You’ll see the individual fabrics in much better detail as I get sewing.)

I am matching this selection with three me-made items from my wardrobe, a self-drafted skirt & two Colette Sorbettos, and a weird 1970’s poly jacket I got from Oxfam.

I already had some of those fabrics earmarked for specific patterns so I’m pressing ahead with those whilst allowing other design ideas to percolate.

Hullo world (or, at least, the part interested in sewing)

Louis, Louis (er, and Louis) (from 2noblecrows)

Louis, Louis (er, and Louis) (from 2noblecrows)

The Louis Vuitton eyelet fabric from spring 2012 registered immediately on my bride radar (more on what tickles that in later posts). With the frustration of knowing I would never be able to find that fabric (unless my fabric-stall man outside Sainsbury’s happened to find it lurking in his magical warehouse), I parked it as airy, frothy inspiration. That was until Colette Patterns announced a competition to coincide with the launch of their new pattern, Laurel.

“Yes!” I thought “it’s now or never. Can I possibly recreate something that looks anything like Louis’s eyelets?” The answer, after several weeks of production-line sewing is, probably not! But, then again, does that matter?