From the Wardrobe: Decanter Fine Wine Encounter

I’m going to delve back into previous makes and blog them for posterity! First up, a Burda Magazine dress I made for our annual jaunt to the Decanter Fine Wine Encounter, where I encountered a LOT of wine.

Pattern: Dress 111, September 2009 edition of Burda Magazine.

Made/occasion: Made in Oct/Nov 2012 for special occasion (see above)

Alterations/Fitting: No design alterations apart from fully lining the dress. Fitted well, apart from at hips. Decreased hips by inch or two (this is a normal adjustment for me as my hips are narrower than the pattern models used).

Fabric: Not sure of the fiber content. Structure is taffetta like. Main colour is black with small woven grey diamonds at intervals, and there is a woven boarder of antique gold, copper and pewter flowers. My biggest mistake was pre-washing this fabric. The fabric didn’t shrink, but there are now distortions in the weave which show up as grey crease marks. No amount of pressing gets rid of these babies (but I might try sending it for dry cleaning to see what happens).

Pattern instructions: They were typically minimally Burda-y. I.e. you could follow them, but they’re not giving you any extra. HOWEVER, there is a mysterious ‘lining’ piece that I didn’t figure out until half way through the muslin stage. Why, oh why, I thought, is there only one lining piece? Well, it isn’t a lining piece, that’s why. This dress is unlined as drafted in the magazine. No! The ‘lining’ piece is actually an internal structure keeping the two princess side pieces where they’re supposed to be. Absence of this piece means the front and back pleats are free to pull open. As I wasn’t lining my muslin I omitted this piece at the fitting stage only to hastily stitch it in as my pleats went flapping around all over the place. In the finished piece I used silk organza for the, ahem, structural lining.

The mysterious 'lining'

The mysterious ‘lining’

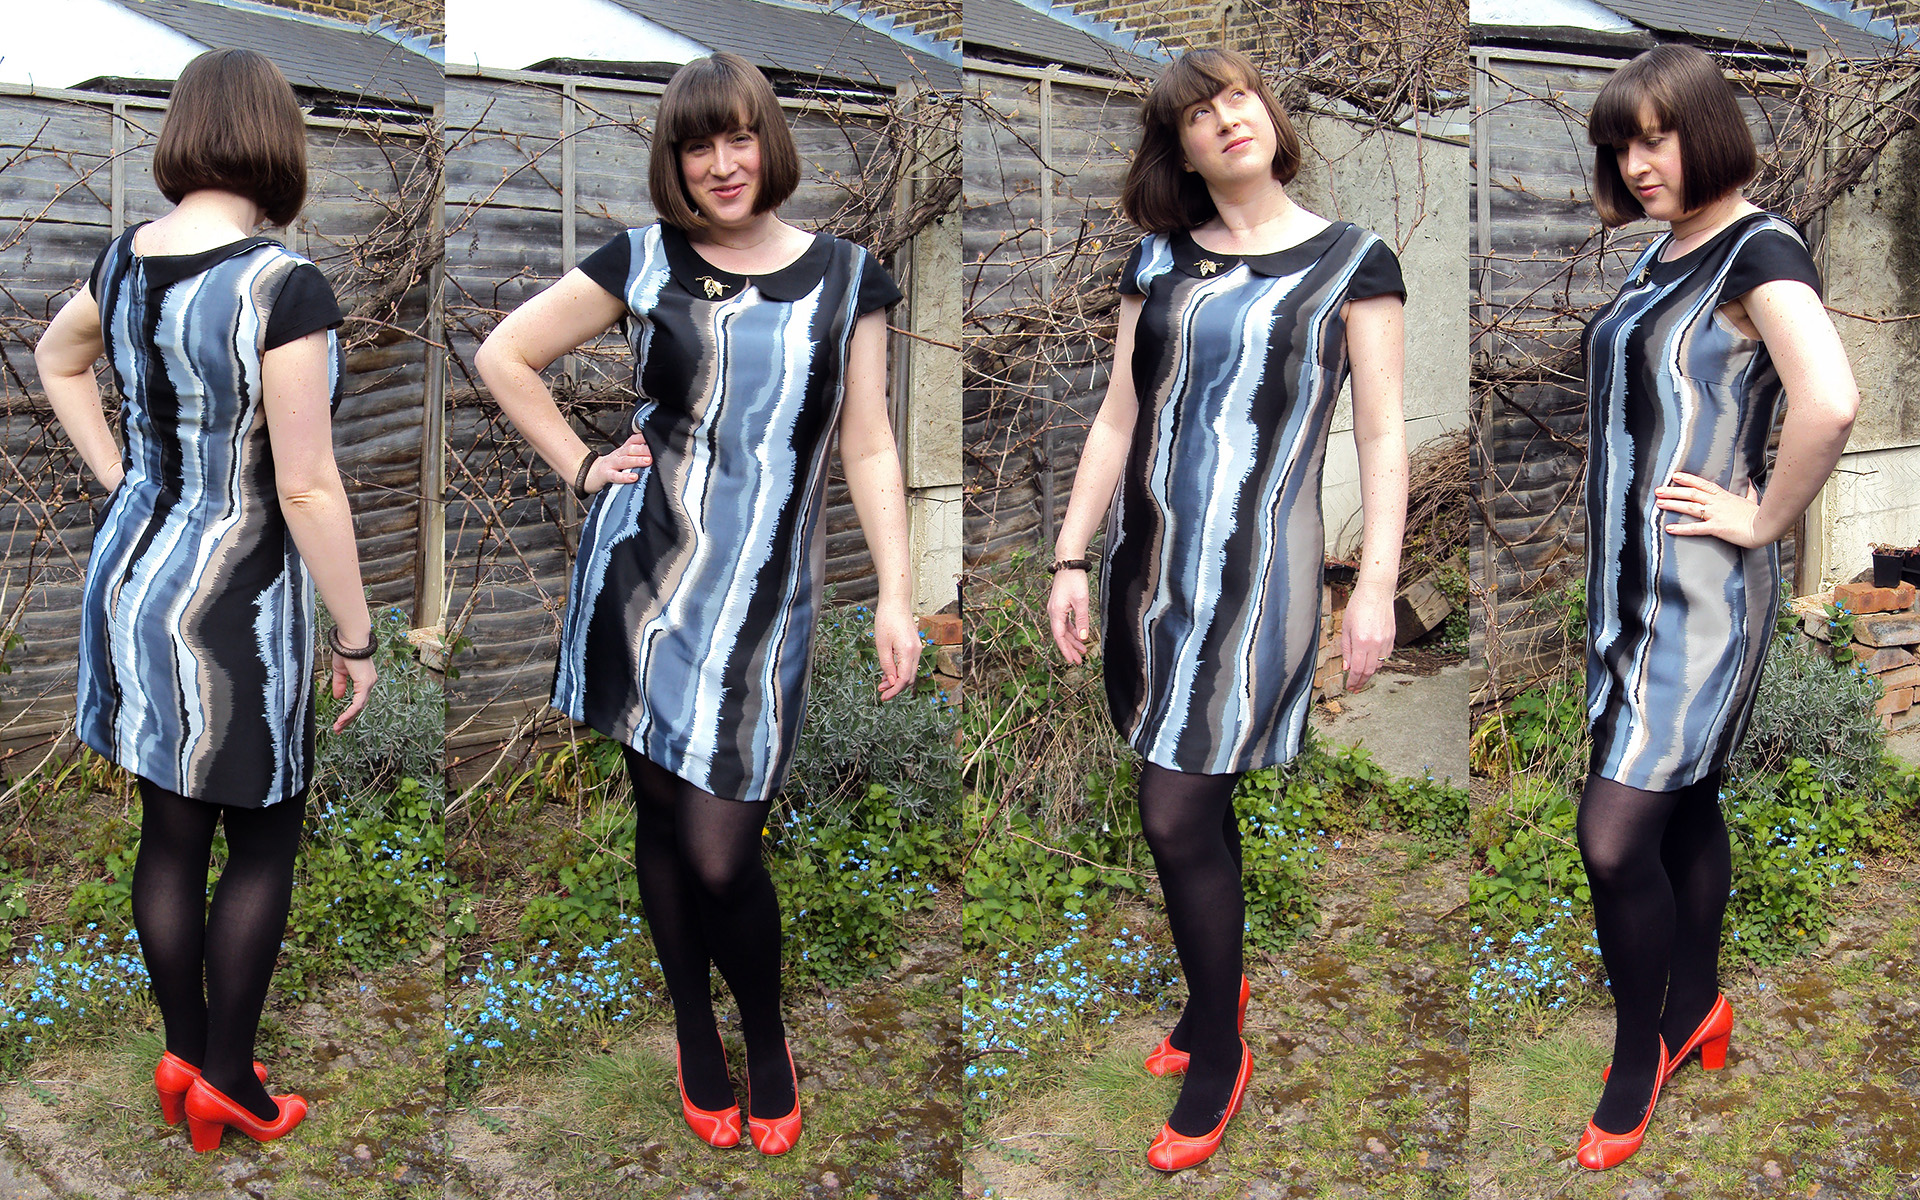
My construction notes/ thoughts: I picked this dress because I really wanted to showcase the border weave on this fabric. Most of the fabric is boring black and I didn’t want to just have the border around the skirt hem. Therefore I pieced the dress using the border in the central front and back pieces (upside down), and in the cap sleeves as well as round the skirt. I deliberately pieced the cap sleeves differently so that I didn’t have two bold flowers staring at you from my shoulders. I like the way the fabric placing highlights the face and decolletage.

I lined the dress by using the drafted pattern pieces, but cutting and sewing the bodice pieces at the pleat overlap lines, so the lining is smooth (this will make sense if you look at the pattern pieces). Instead of constructing the cap sleeves as full circles, folded in half and basted before setting in, as drafted, I cut a half circle from the shell fabric and one from the lining, hemming them at the long straight edge before setting them in as per the instructions. I hand-picked the lining at the neck and round the armholes.

Recommend/make again?: This is quite an elegant dress. It is also unusual with the front and back pleating, and I like the way the pleat matches up with the skirt pleats to look like a continuous fold when wearing a belt (when not, you can see the waist seam). This is quite a sophisticated design element for Burda, I think. I’ll leave you to decide if you can cope with the extra fabric over the boob area. I was concerned before-hand, but decided it’s not too much for me.

I would make this again. I like the style, but the fabric means I won’t be wearing this unless for best. A nice, red, woolen version would be smart for work, I think.

Look what I found...

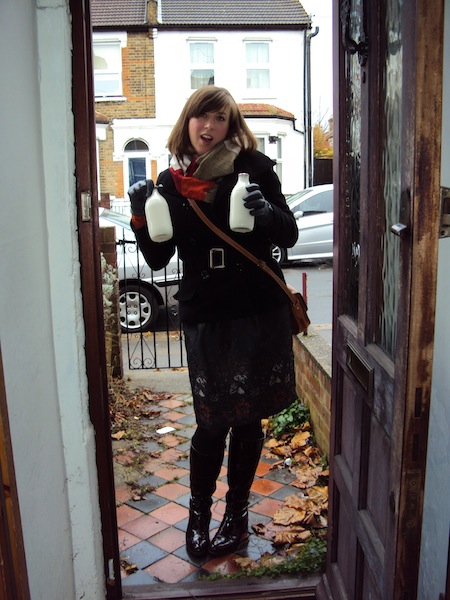
My first Encounter of the day

WordPress likes to offer me related content when writing posts. Here’s one to help you matching those lovely pleats on the front of the Burda dress. Making sure they line up means you can take advantage of this sophisticated style element

Advertisement

Like water on shale: reviewing Laurel

Although I sewed a proper muslin to test the fit of the Colette Laurel, I decided to further test fit and construction by sewing and entering another version in the competition. I’d had this stripy silky fabric in my stash for a number of years. I’d fallen in love with the muted colours (like the colour of shale or slate when wet) but had no idea what to do with it. The lines are not regular enough to create optical illusions with clever cutting and I didn’t want to break them up anyway. When Laurel came out with only bust darts to break up the pattern I decided now was its moment in the sun and it seemed the obvious choice for my second entry.

Dabbling in cloning

Dabbling in cloning

Pattern Used: Colette Patterns Laurel (released March 2013)

Size and Version: Size 14 & Versions 1/2/3 (it’s hard to say which because I didn’t use many of their features, just the basic dress)

Modifications: I decided against the drafted sleeves as I feared they’d elide with the main dress causing one big mass o’ fabric. The last dress I sewed had nice little cap sleeves so I decided to recreate them and pair them with a peter-pan collar in solid colour (black nubby silk) to bring out the pattern. For the cap sleeves, I used the included sleeve pattern, but just cut it off in a straight line under the front and back notches. (I did make sure this worked by sewing a draft on to my muslin.) I drafted the collar myself.

Fit from pattern: Size 14 fitted well across the bust, but was too large everywhere else. I also found the bust dart points were too high, so I lowered them (and they still look high in the photos). I took out about 4 inches around the waist and hip circumference; 0.5 at each back waist dart, and 0.75 at the side seams front and back, graduating from nothing just below the bust. This seemed to make the muslin fit, but after finishing the final garment I decided it was still too large/sacky, and took out another 3 inches by sewing down each side seam, again from below the bust.

Construction: Because the fabric is thin and I didn’t want it clinging to everything, I underlined AND lined this dress. I used muslin (in the British English sense of the word), this has given it a nice spongy feel. The lining is of unknown fibre, but is a Pierre Balmain remnant, apparently lost in a West German warehouse for the last 30 years! I have never caught my man-outside-Sainsbury’s telling porkie-pies, so I’m generally convinced that this is true.

I basted the underlining to the fashion fabric round all edges and then treated as one. Because I was lining the dress I didn’t follow the pattern instructions, but used, instead, what is rapidly becoming my favourite construction method. Sewing the lining and fashion fabric right sides together at the neck and armholes, then pulling the back pieces right-way-out through the shoulders. The zip is then inserted and the side seams finished last. Because I’d sewn the sleeves and collars identically, with the solid fabric sewn to the lining fabric along the outside edges, I treated them the same when attaching the lining to the dress fashion fabric. That is, I just sandwiched them between the lining and fashion fabric so that when I turned the dress the right way out, the were in place and caught in the seams (if that makes any sense at all!).

Feelings on the final dress: I wasn’t sure if I would like this dress. Because of my shape I try and steer clear of anything that falls straight from the bust. The fabric I used is silky, and so I just about avoid the sack look (IMO), but I did take the sides in quite considerably just before hemming, to give it a better fit; possibly too much as there is a little pulling across the back. That said, I like it and I will wear it. Probably to up-market day-dos, like a conference or networking.

Lessons learnt & future focus:

  1. I need to do Full Bust Adjustments from now on. I have to face the fact that choosing the size based on my bust measurement and scaling down the waist and hips doth not a good fit make elsewhere
  2. D’oh, when drafting the collar (which wraps round from CF to CB), I drafted a piece for the front and a piece for the back, sewing them together at the shoulder. Because I had a top collar, under collar with fusible interfacing, fashion fabric, underlining and lining all seamed at the shoulder, this gave me a seam with 12 (six fabrics x tw0 for the folded over allowance, you follow?) layers of fabric to sew through. I could’ve just eliminated shoulder seam on the collar…
  3. Silky fabrics, silky fabrics, must learn to cut silky fabrics on grain (although please note that the stripes on this fabric are not on grain anyway, so they squiff off to the right on purpose), and to sew them well (sewing this really was like walking on wet shale)
  4. Zips, in silky fabrics; mine is bubbly, not good
  5. Hemming, argh, I’m always too impatient and for some reason I can never cut a straight one. I really need to make sure I spend the time perfecting this. I had hoped with the addition of the underlining that you wouldn’t be able to see the hem, but you can and it’s bubbly

Make again?: I’m going to have to say… No. I like this dress and I love my other one, but I sewed these two dresses for the competition. I thought it would be interesting to see if I could make something I would normally avoid, look good on me. I’ve concluded that I prefer shaping at the waist.

Notes on the Pattern: Although I used an alternative method to the instructions, I did read through them before starting to get a basic idea of the pattern, and they are very well written and easy to understand. I like the hand-holding explanations of common sewing terms. I think they can up a new seamstress’s game quite quickly (I mean, who ever learnt about stay-stiching from a Burda Magazine pattern?).

Hullo world (or, at least, the part interested in sewing)

Louis, Louis (er, and Louis) (from 2noblecrows)

Louis, Louis (er, and Louis) (from 2noblecrows)

The Louis Vuitton eyelet fabric from spring 2012 registered immediately on my bride radar (more on what tickles that in later posts). With the frustration of knowing I would never be able to find that fabric (unless my fabric-stall man outside Sainsbury’s happened to find it lurking in his magical warehouse), I parked it as airy, frothy inspiration. That was until Colette Patterns announced a competition to coincide with the launch of their new pattern, Laurel.

“Yes!” I thought “it’s now or never. Can I possibly recreate something that looks anything like Louis’s eyelets?” The answer, after several weeks of production-line sewing is, probably not! But, then again, does that matter?