I’ve been getting on with the first two items in my Spring/Summer 2013 wardrobe challenge. The Colette Clovers are done (and have been worn out and about) and I am half way through the Vogue top. I’m saving a reveal till I can photograph the two of them together, but here’s a teaser.

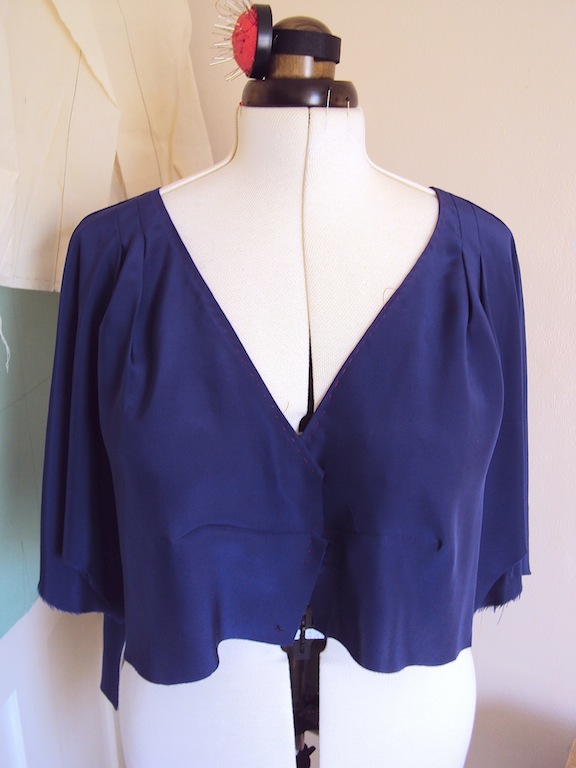
Top front constructed
Sewing a version of this top in blue silk had two purposes: a muslin before cutting into the patterned chiffon, and my first experience of sewing with light-weight silk satin. Some sort of drapey silk is a current wedding-frock contender and so I wanted to see how it handled and whether I could handle it before I got too far along in my plans.
As this pattern is for an unstructured top I didn’t need any complicated backing or control, so I focussed on learning how to cut, sew and press silk.
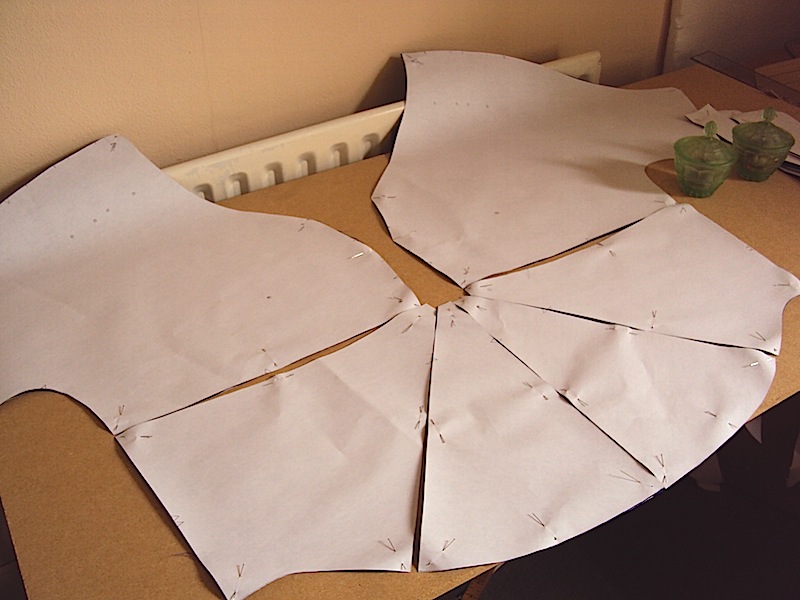
Cutting: I used the Grainline tutorial for cutting the silk, that is cutting it through paper, and I think, on the whole it worked. I haven’t got a very big cutting surface and I don’t like crawling around on the floor, so I handily recalled a tip from Roberta Carr’s Couture book. She advises you to cut with the smallest piece of fabric you can get away with. I happily ripped away at my fabric to give me strips that would fit on my table and then sandwiched them between paper, using the edges of my paper as my grain lines. The one thing I found tricky was inserting the pins; the weight of the three layers, and stiffness of the paper, meant that I couldn’t bring the pins back up through the sandwich easily. The combination of these two methods is very profligate with materials. As a recycler, I’m not sure what I think about this, yet.
After cutting out the first back piece, I hastily pulled out the pins to see my results. Whilst, happy with the piece itself, I realised how badly the fabric frayed and so I left subsequent pieces sandwiched in their paper until I needed them. I think this stopped both wrinkling and fraying.

Fabric sandwich, hold the mayo
Sewing: I read quite extensively before starting sewing but then just went by feel. I used these resources:
I set the machine up with the smallest needle I had, following Claire’s advice. The pattern calls for french seams, which I sewed on the 2.5 setting.
My seams still slipped a little (Seam Slippage) and; I now have two pieces of conflicting advice, Claire suggested a ‘normal’ stitch length would be fine, but the link above suggests the opposite to avoid slippage. In any case, don’t think this will be noticeable in the final garment as it has a loose fit and wont be pulled tight.
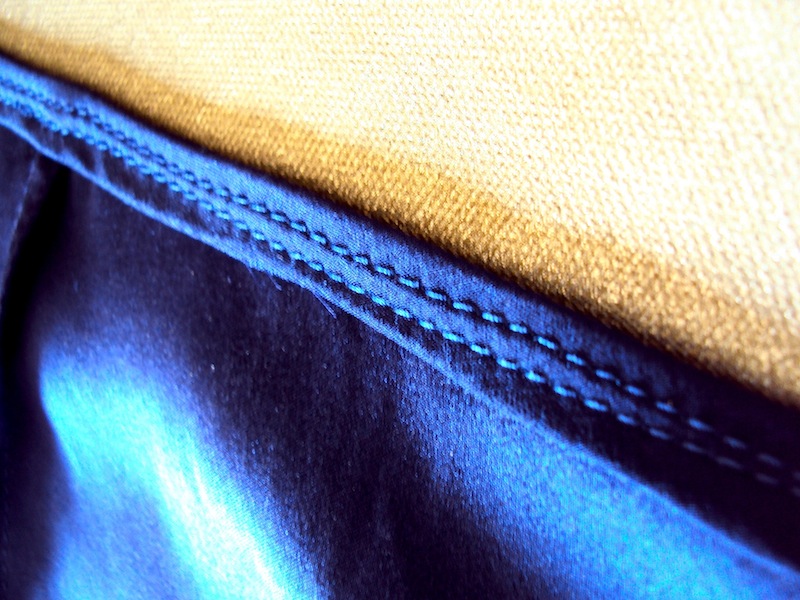
I didn’t use any stabilisers; the way the pattern called for the neck to be finished was almost a stabiliser in itself:

Bias edging
That is, a bias band stitched to the right side, pressed under and then top stitched. The second row you see there is understitching. It remains to be seen whether I should have stabilised the lower front panels when I try to stitch them to the upper front.
I think I’m going to need to sew a more structured garment to really improve my abilities with this fabric.
Pressing: Again my source material was the two couture books. I wanted to press with a cloth to protect the fabric, but found it really tricky getting the seam in position under it. I really worked on my technique, eventually realising that I needed to hold the seam down with my fingers, place the cloth over the top and then press, rather than holding the fabric from above the cloth.

Wavey

Holding the seam in place

Close up

Getting flatter
Unfortunately this fabric was VERY unforgiving when pressing. The small amounts of steam I dared to use have given a bubbly look to bits of the fabric and I’ve got seam impressions on the right side, as you can see from the picture on the left.

Flat, but not flat-felled

The paper method
I also tried putting paper between the seam and body of the top, as suggested by Roberta, but by then I’d pressed the seams so many times, the results of this method weren’t clear.
Next time, I will try both paper and using less pressure, possibly not even touching the fabric, just using the heat. I picked that up from Ann in the Great British Sewing Bee.